Create your first Shader
Before you create your first shader, make sure that you are signed in. Visit the Login Page, where you can sign in with your Google account, or click the login button in the top right corner of the page.
Create your first shader, by clicking on the big "New" button in the top left menu.
The login process will cause the page to reload, meaning everything in the editor will be lost.
If you want to save your shader, make sure to log in before you start creating your shader.
The User Interface
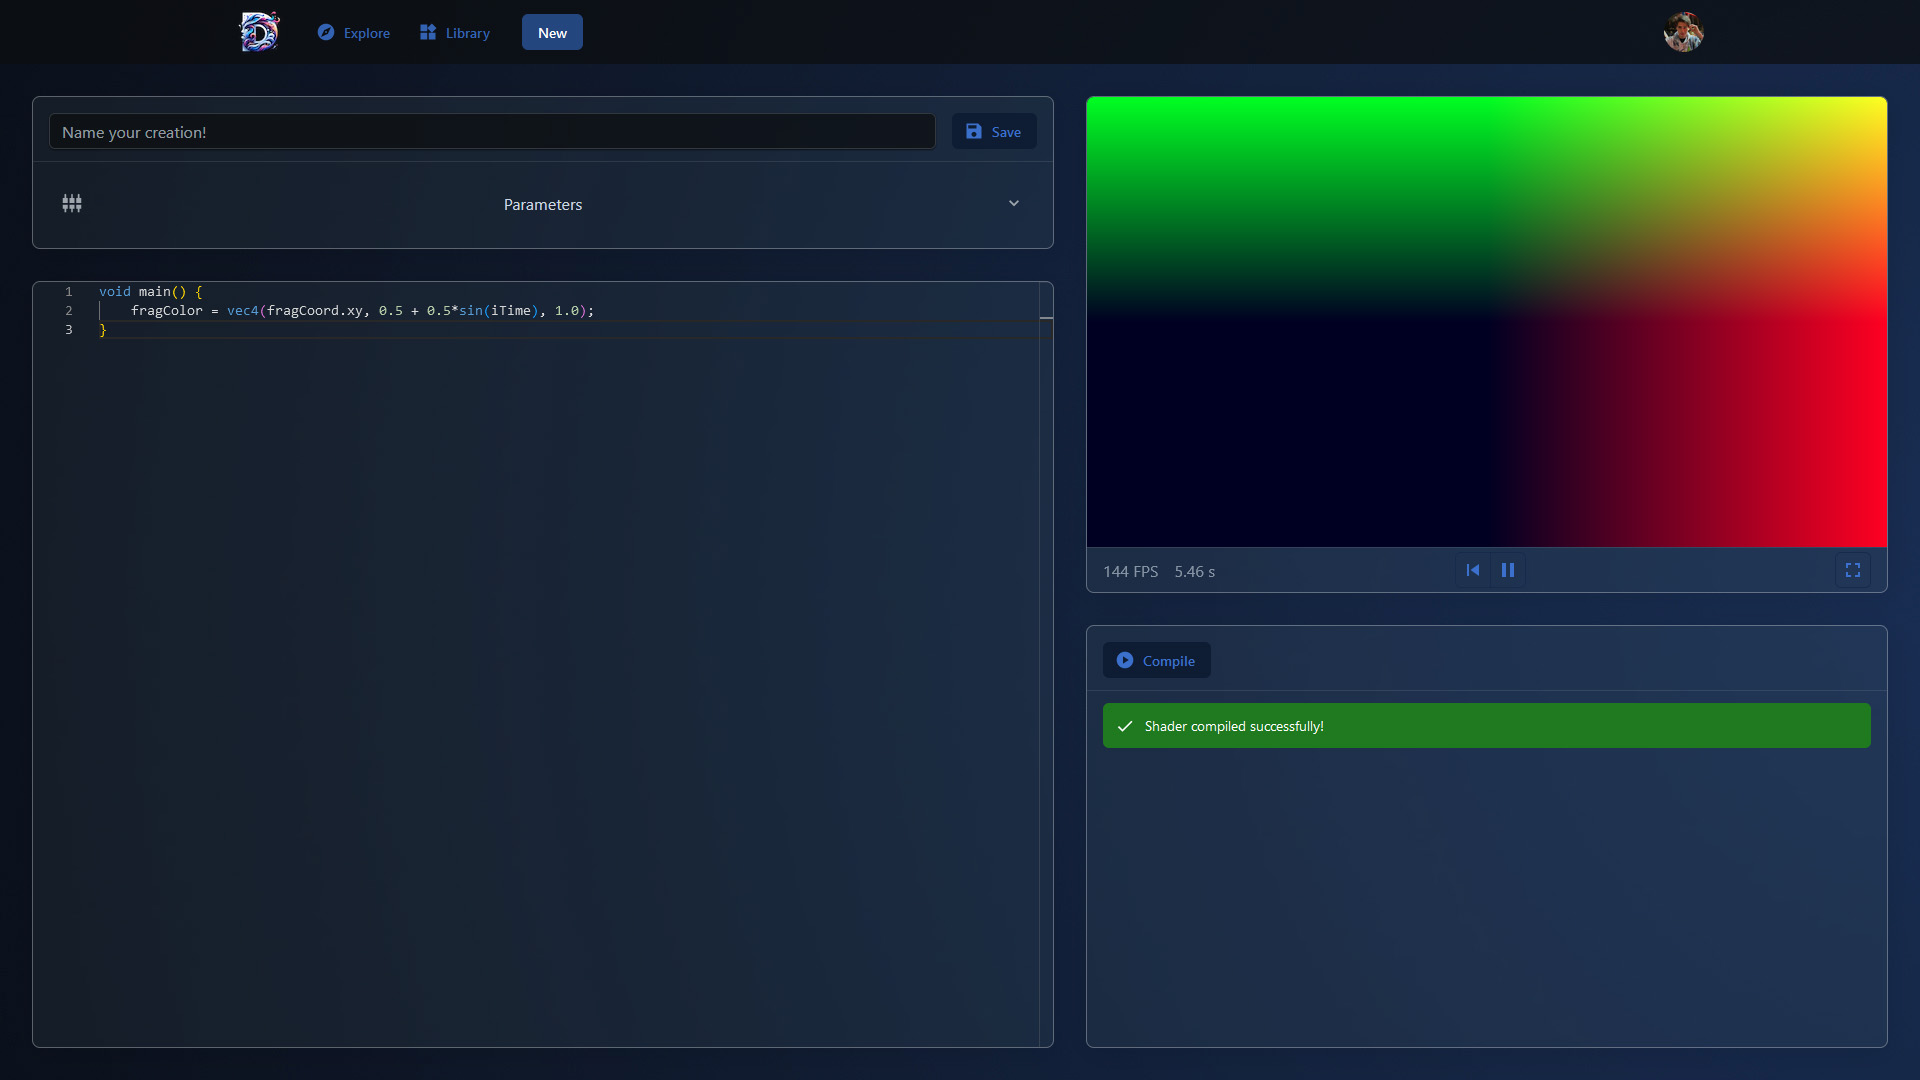
The user interface of the shader editor is divided into four main panels:
General InformationThe top left panel shows general information about the shader, such as the name and also the customization options of your shader can be found here. | PreviewThe top right panel shows a preview of your shader. Changes of the customization parameters are immediately reflected in the preview. However, the preview is not updated when you change the shader code, the compilation has to be triggered manually. |
Code EditorThe bottom left panel is the code editor. Here you can write your shader code. The code editor is based on the Monaco Editor and supports syntax highlighting, code folding, and other features. | Compiler OutputThe bottom right panel shows the output of the shader compiler. Press the compile button to push updates of the shader code to the preview. It shows errors and warnings that occur during the compilation of the shader code. |
Working with parameters
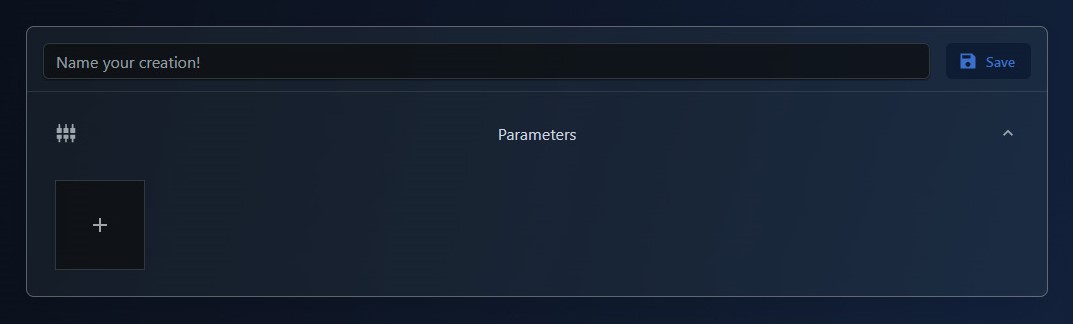
Expand the parameter section by clicking on the "Parameters" button in the top left panel. Here you can manage the parameters of your shader. Parameters are values that can be changed by the user of the shader. They can be used to customize the appearance of the shader without changing the shader code. They are interpreted as uniforms in the shader code.
Click on the "+" button to create your first parameter.
You have the following options to customize your parameter:
- Uniform Name: This name is used to reference the parameter in the shader code.
- Display Name: This name is shown in the user interface of the shader.
- Type: The following types are available:
- Float
- Integer
- Boolean
- Vector 2
- Vector 3 (can be a color)
- Vector 4 (can be a color with alpha channel)

In this tutorial, we are going to use a float parameter called "blue", to control the blue channel of the output.
You can use the uniform (blue) anywhere in your shader code to reference the parameter value.
void main() {
   fragColor = vec4(fragCoord.xy, blue, 1.0);
}

Click on the "Compile" button to update the preview.
Now you can change the parameter value in the "Parameters" section and see the changes in the preview.
Don't forget to save your shader. You can give it any name you like.
